
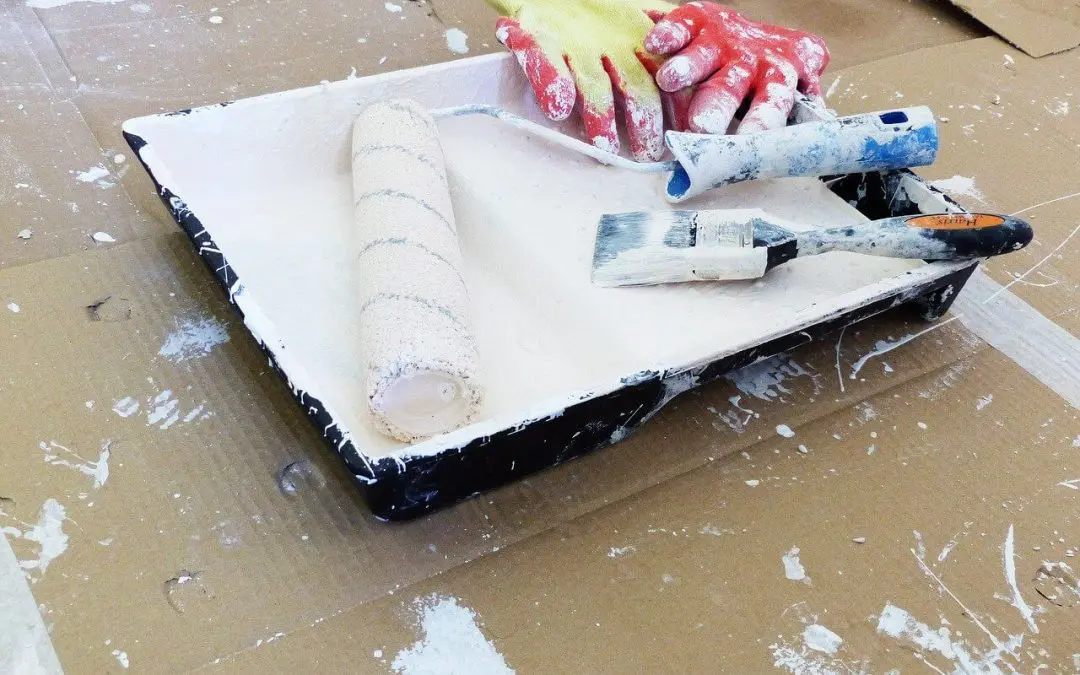
Good interior painting tips that actually make a difference in the final result are almost always about preparation and process rather than the paint itself. Most homeowners who are unhappy with a DIY paint job skipped or rushed the steps that determine whether paint looks professionally done or amateur. A flawless paint job is 70 percent preparation and 30 percent application.
The Painting Tips That Determine the Final Result
Preparation is where the result of any paint job is won or lost, and the most important painting tips address surfaces, edges, and materials before a brush or roller ever touches the wall. Cleaning the surface before painting is a step many homeowners skip, assuming fresh paint will cover a dusty or greasy wall. Paint applied over dirty surfaces has poor adhesion and may peel prematurely. Washing walls with TSP or a TSP substitute removes the grease and dust that accumulates on surfaces and ensures the paint bonds properly. Filling nail holes and surface imperfections with lightweight spackle, sanded smooth and flush after drying, is the step that most clearly separates a professional-looking result from an amateur one. Paint doesn’t fill imperfections; it reveals them. A wall with unfilled dings looks worse after painting than before because fresh sheen draws attention to every surface irregularity.
Taping is the preparation step homeowners most frequently execute poorly. Press the tape edge firmly along its entire length with a putty knife or credit card, not just a finger. Any gap between tape and surface allows paint to bleed underneath, producing the ragged edges.
Application Painting Tips for Walls, Ceilings, and Trim
The application process has its own set of painting tips that affect the final appearance as significantly as preparation does. Cutting in, painting a precise edge at the ceiling line, baseboard, and trim with a brush before rolling the field, should be done section by section rather than cutting in the entire room first. Paint that has dried before the roller comes in creates a visible lap line. Cutting in one wall and immediately rolling it maintains a wet edge that blends seamlessly. The roller nap should match the surface texture. Smooth walls take a 3/8-inch nap; light texture takes a 1/2-inch nap; heavy texture takes 3/4-inch. The wrong nap leaves either a stippled texture on smooth walls or inadequate coverage in textured recesses. Rolling in a consistent W or M pattern before filling in eliminates the roller track marks that a back-and-forth-only technique produces. Two coats are almost always necessary; allow the first to dry completely before applying the second.
Trim and Finish That Complete the Job
Trim painting is where many otherwise good paint jobs fall short, because trim requires more patience and precision than wall painting and is more visually prominent for it. Semi-gloss or gloss paint on trim is the standard specification; the harder finish is more durable, easier to clean, and provides the visual contrast with flat or eggshell wall paint that gives a room its finished look. Applying trim paint with a quality angled sash brush and maintaining a wet edge along each board produces the smooth, drip-free finish trim demands. Removing tape while the paint is still slightly wet is one of the painting tips most homeowners learn the hard way. Tape removed after full drying pulls the paint edge with it. Pull slowly at a 45-degree angle back over itself, and the paint releases cleanly.
Frequently Asked Questions (FAQs)
Do I need to prime before painting?
Primer is necessary when painting over a significantly darker color, covering a stain or water-damaged area, painting previously unpainted drywall or bare wood, or switching between paint types. When repainting in a similar or lighter color with the same paint type on a clean, sound surface, a paint-and-primer-in-one product is often sufficient.
What sheen should I use in each room?
Flat or matte hides imperfections best and suits low-traffic areas like bedrooms and ceilings. Eggshell is the most popular choice for living areas, more washable than flat while still forgiving of imperfections. Satin is appropriate for kitchens and children’s rooms where durability matters. Semi-gloss is standard for trim, doors, and bathrooms. Gloss is reserved for high-traffic trim and accent applications.
How much paint do I need for a room?
A gallon covers approximately 350 to 400 square feet per coat. Calculate total wall area, perimeter multiplied by wall height, subtract major openings, and divide by 350 for a conservative estimate. Always buy slightly more than the calculation suggests and keep the excess for touch-ups.
What’s the best way to cut a clean edge without tape?
Freehand cutting is a skill professionals develop through repetition and is achievable with practice. Use a quality angled sash brush with a moderate paint load, pull along the edge with steady hand pressure, and keep your eye on the leading edge rather than the brush. For homeowners without this practice, tape with proper application is the reliable path to clean edges.
How long should I wait between coats?
Most latex paints are dry to touch in one to two hours, but full cure for recoating typically takes two to four hours minimum, longer in high humidity or cool temperatures. The key painting tip: touch the surface gently in an inconspicuous spot. If it feels even slightly tacky, it isn’t ready. Applying too soon causes the second coat to lift the first, creating streaking that’s difficult to correct without starting over.
Professional Inspection Network provides home inspections in Southern California. Contact us to request our services.